

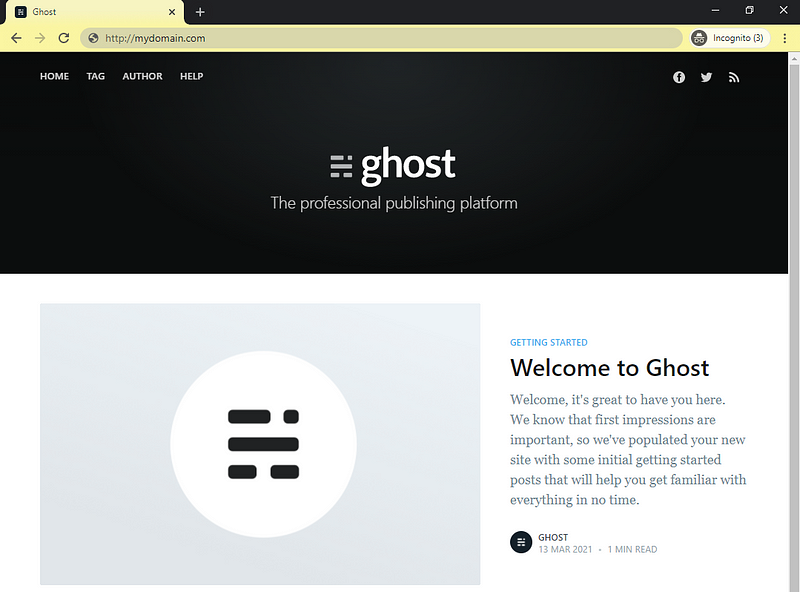
Ghost is a popular open-source blogging platform of which I am a huge advocate. Here is what a blog hosted on Ghost looks like. The platform is secure, lightweight, and very easy to use and customize. The Ghost team has a post on how their platform compares to WordPress here.
There is a managed hosting fee if you want Ghost to host the blog for you but in this article, I will walk you through setting up a Dockerized ghost blog on Google Cloud Platform (GCP). With this approach, your blog can be hosted absolutely free and the setup should take under 15 minutes. You can read up on Ghost here and why I use GCP as my cloud platform here.
Having a GCP account is a prerequisite and you can create it here for free. If you are using AWS, Azure, or another cloud vendor you can follow the same steps for everything except the compute instance setup.
Let’s get started!
Setup the Compute Engine Instance
Google’s Compute Engine is a service for deploying private Virtual Machines in the cloud. The GCP always free tier provides one of these VMs free for you to use and we will use this service to host our Ghost blog.
If you don’t yet have a project in GCP or if you want to create a new project to be associated with your Ghost blog you can do that here.
The Compute Engine creation process can be started here or by clicking on the create instance button on the VM instances view.
- Specify a name for your instance (I will be using ghost-blog)
- Under Machine configuration leaving the machine family as General Purpose, select N1 for series and f1-micro for Machine Type (free tier)
- Change the Boot disk to the public image Ubuntu 20.10 or Ubuntu 20.10 Minimal with boot disk type set to Standard persistent disk
- Ensure Allow HTTP traffic and Allow HTTPS traffic checkboxes are checked
- Note the message in the top right indicating that the first 744 hours of f1-micro instance usage are free this month — if you don’t see this message you might have selected the wrong machine type or the wrong region (must be us-west1, us-central1, us-east1)
Here is what your configuration should look like:

Click Create and wait for the instance to spin up. You should be automatically redirected to your VM instance list and once you see a green checkmark appears next to your instance it is ready to go.

Note the external IP as we will need to further in this tutorial when we configure Ghost.
Click the SSH button under Connect to launch a session and get access to your new Compute Engine instance.
Get Your Instance Ready for Ghost
As mentioned above, I will be using Ubuntu 20.10 in this walk-through. If you are using a different OS, you will have to adjust your commands.
Update the Package List & Install Your Favourite Text Editor
I prefer nano but you can use whatever suits you. Update the package list and install your editor.
sudo apt-get update
sudo apt-get install nano
Add Swap Space
Small compute instances like the f1-micro come with limited memory (600MB in our case), which can slow things down and overload the CPU. If you are using a larger compute instance with sufficient memory you can skip this step, but I will start by adding swap storage to enhance performance. You want to add 2x of your available RAM in swap space — in my case, this is 1.2GB of swap for 600MB of RAM. Create your swap file:
sudo fallocate -l 1.2G /swapfileChange permissions to only allow root access:
sudo chmod 600 /swapfileSet up a Linux swap area on the file:
sudo mkswap /swapfileMake sure the changes are permanent by modifying the filesystem table:
sudo nano /etc/fstabAppend /swapfile swap swap defaults 0 0 to the end of the file. It should look like this:
LABEL=cloudimg-rootfs / ext4 defaults 0 1
LABEL=UEFI /boot/efi vfat defaults 0 1
/swapfile swap swap defaults 0 0
*If you have never used nano before, you can use ctrl+x to close out of the file - enter y+enter when asked if you would like to save modified buffer.
Your instance now has an additional 1.2GB of swap memory.
Install Docker
We will be using the Ghost Docker image to deploy our blog. Docker has an install walkthrough that you can follow here but I will include the relevant instructions in this section.
Update your package list and run an upgrade to make sure everything is up to date:
sudo apt-get update
sudo apt-get upgrade
Install required packages:
sudo apt-get install \
    apt-transport-https \
    ca-certificates \
    curl \
    gnupg \
    lsb-release \
    software-properties-common
Add Docker’s official GPG key:
curl -fsSL https://download.docker.com/linux/ubuntu/gpg | sudo apt-key add -Setup the stable repository:
sudo add-apt-repository "deb [arch=amd64] https://download.docker.com/linux/ubuntu groovy stable"Run the update again and install docker:
sudo apt-get update
sudo apt-get install docker-ce docker-ce-cli containerd.io
You can check to ensure Docker is installed with the sudo docker --version command and see something like this in the output Docker version 20.10.5, build 55c4c88 .
You are now ready to pull and configure the Ghost image!
Configure and Deploy Ghost
There are a few different ways of deploying Ghost but as mentioned we will use Docker. There is a Ghost Docker image maintained on the Docker hub which makes things very simple for us.
Pull the latest Ghost docker image:
sudo docker pull ghost:latestCreate a directory to house your content and Docker config file and create said config file (make sure to change your IP/domain):
mkdir ghost_blog

echo '{
  "url": "http://yourdomain-or-ip",
  "server": {
    "port": 2368,
    "host": "0.0.0.0"
  },
  "database": {
    "client": "sqlite3",
    "connection": {
      "filename": "/var/lib/ghost/content/data/ghost.db"
    }
  },
  "mail": {
    "transport": "Direct"
  },
  "logging": {
    "transports": [
      "file",
      "stdout"
    ]
  },
  "process": "systemd",
  "paths": {
    "contentPath": "/var/lib/ghost/content"
  }
}' >> ghost_blog/config.json
*Replace http://yourdomain-or-ip with the external IP we noted in the Setup the Compute Engine Instance section. If you have a domain pointing to the IP you may use the domain instead.
Create a shell script file for quickly spinning up your Docker container (make sure to change your IP/domain):
echo '# Set path variables
DATA_DIR="$PWD/ghost_blog"
CONTAINER_NAME="ghost_blog"

# Purge the existing container if running.
docker kill $CONTAINER_NAME
docker rm $CONTAINER_NAME

# Mount the volumes - content directory and config file
# and add the url variable for docker map as the public URL
docker run \
-d \
--restart=always \
-p 80:2368 \
-e url="http://yourdomain-or-ip" \
-v $DATA_DIR/content:/var/lib/ghost/content \
-v $DATA_DIR/config.json:/var/lib/ghost/config.production.json \
--name $CONTAINER_NAME \
ghost' >> run.sh
*Replace http://yourdomain-or-ip with the external IP we noted in the Setup the Compute Engine Instance section. If you have a domain pointing to the IP you may use the domain instead.
You should not have the following folder structure:
├── run.sh
├── ghost_blog
│ ├── config.json
To spin up your Docker container containing your Ghost image run:
sudo sh ./run.shYou will see a cannot kill container error the first time you run the script. This is expected and will not cause any issues. Here is a sample output:

Navigate to your external IP and you should now see your blog instance (make sure you are using HTTP and not HTTPS).
To finish configuring your blog you will need to navigate to http://yourdomain-or-ip/ghost and follow the instructions to create your admin account.
Congratulations, you now have your very own Ghost blog page up and running!
Other Helpful Topics
Updating Ghost
With this setup, you can update your Ghost image by simply running sudo docker pull ghost:latest
Setting Up HTTPS for Your Blog
If you would like to take your blog to the next level you need to set up a proper domain name and SSL certificate(s). I have an article on doing this with NGINX and Certbot.
Persist Content Storage
With our setup, all of your content, configuration, and posts will live within the ghost_blog folder. To create a proper backup for your blog I recommend using git. You can initialize the ghost_blog folder as a git repository which allows for easy backups and restores.
IP and Domain Management
If your entry point to the blog changes to a new IP or a proper domain name you will need to update both the ghost_blog/config.json and run.sh files with the new IP/domain name. Once dun simply re-run the run.sh batch script.
Good luck and happy coding!